IPC Class 2 vs Class 3: What It Means and When You Need It
IPC classes decide how strictly your boards are judged. Learn what Class 1, 2 and 3 mean, how they change cost, and how to write the right one into your order.
Microplacer team · 15 November 2026 · 5 min read
 Quality & Testing
Somewhere in a customer drawing or a purchase order you will meet the line “build to IPC Class 3” — and you may wonder whether your board really needs it. The class you choose decides how strictly every board is judged, and that changes cost and schedule. Here is how to ask for the right one without paying for more than your product needs.
What IPC-A-600 and IPC-A-610 cover
IPC documents are a shared rulebook, so a buyer in Pune and an inspector on the line judge a board the same way. Two come up again and again:
- IPC-A-600 — what an unassembled board should look like: plating and copper, drilled holes, mask, legend, board edges and the internal features you only see in a cross-section. Its performance companion for rigid boards is IPC-6012.
- IPC-A-610 — acceptance of the assembled board: solder joints, part position and polarity, damage and cleanliness. Its process companion, J-STD-001, sets the requirements for how the soldered connections are made.
In both, the buyer picks a product class and the acceptance limits follow from it.
Class 1, 2 and 3 in plain words
| Class | Think of it as | Typical products |
|---|---|---|
| Class 1 — general | It has to work; looks matter little. | Toys, simple gadgets, short-life consumer items |
| Class 2 — dedicated service | It should work reliably for a long time; an occasional failure is not dangerous. | Industrial controllers, instruments, telecom, most commercial electronics |
| Class 3 — high reliability | It must work every time, often in harsh conditions; downtime is not acceptable. | Life-support medical, aerospace, defence, safety-critical systems |
The class does not make a board “better designed”. It sets how much imperfection is tolerated during manufacture and how much checking is done to prove it. Class 2 is what most commercial work is built to, and it is commonly treated as the baseline when nothing else is specified.
Example differences: annular ring, solder fillets, plating
A few everyday features show the gap:
| Feature | Class 2 | Class 3 |
|---|---|---|
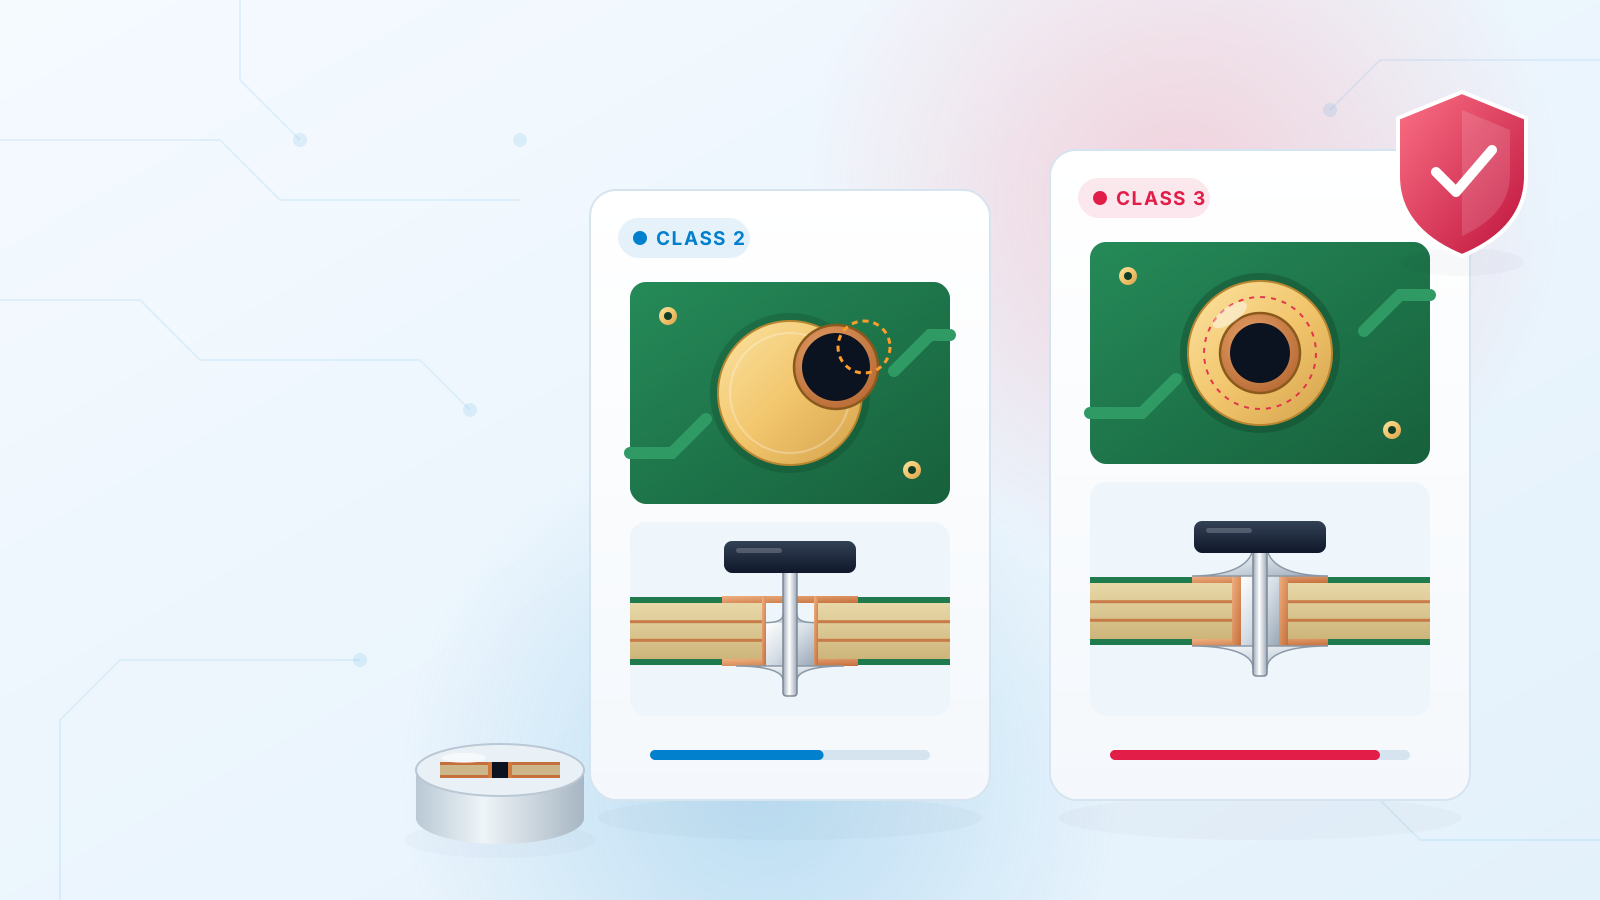
| Annular ring (copper around a drilled hole) | Limited drill breakout is tolerated on outer layers, within set limits. | No breakout; a minimum ring of copper must remain all the way round. |
| Hole wall plating | Thinner minimum average copper in plated holes (about 20 µm per IPC-6012). | Thicker minimum average copper (about 25 µm), for better resistance to thermal cycling. |
| Through-hole solder fill | Good barrel fill required, with some allowances in specific situations. | Fewer allowances; fill and wetting must meet the tighter limit on every joint. |
| SMT solder fillets | Small side overhang and minimum fillets are accepted within limits. | Tighter limits on overhang, fillet height and wetting. |
| Cosmetic and mask defects | More tolerance for minor marks that do not affect function. | Less tolerance; borderline items become rejects. |
Cost and lead-time impact of higher classes
Class 3 is not just a stricter checklist at the end. It ripples through the whole job:
- Design rules get tighter — larger pads or smaller drills may be needed to keep the full annular ring.
- More plating time and process control to reach the thicker hole-wall copper.
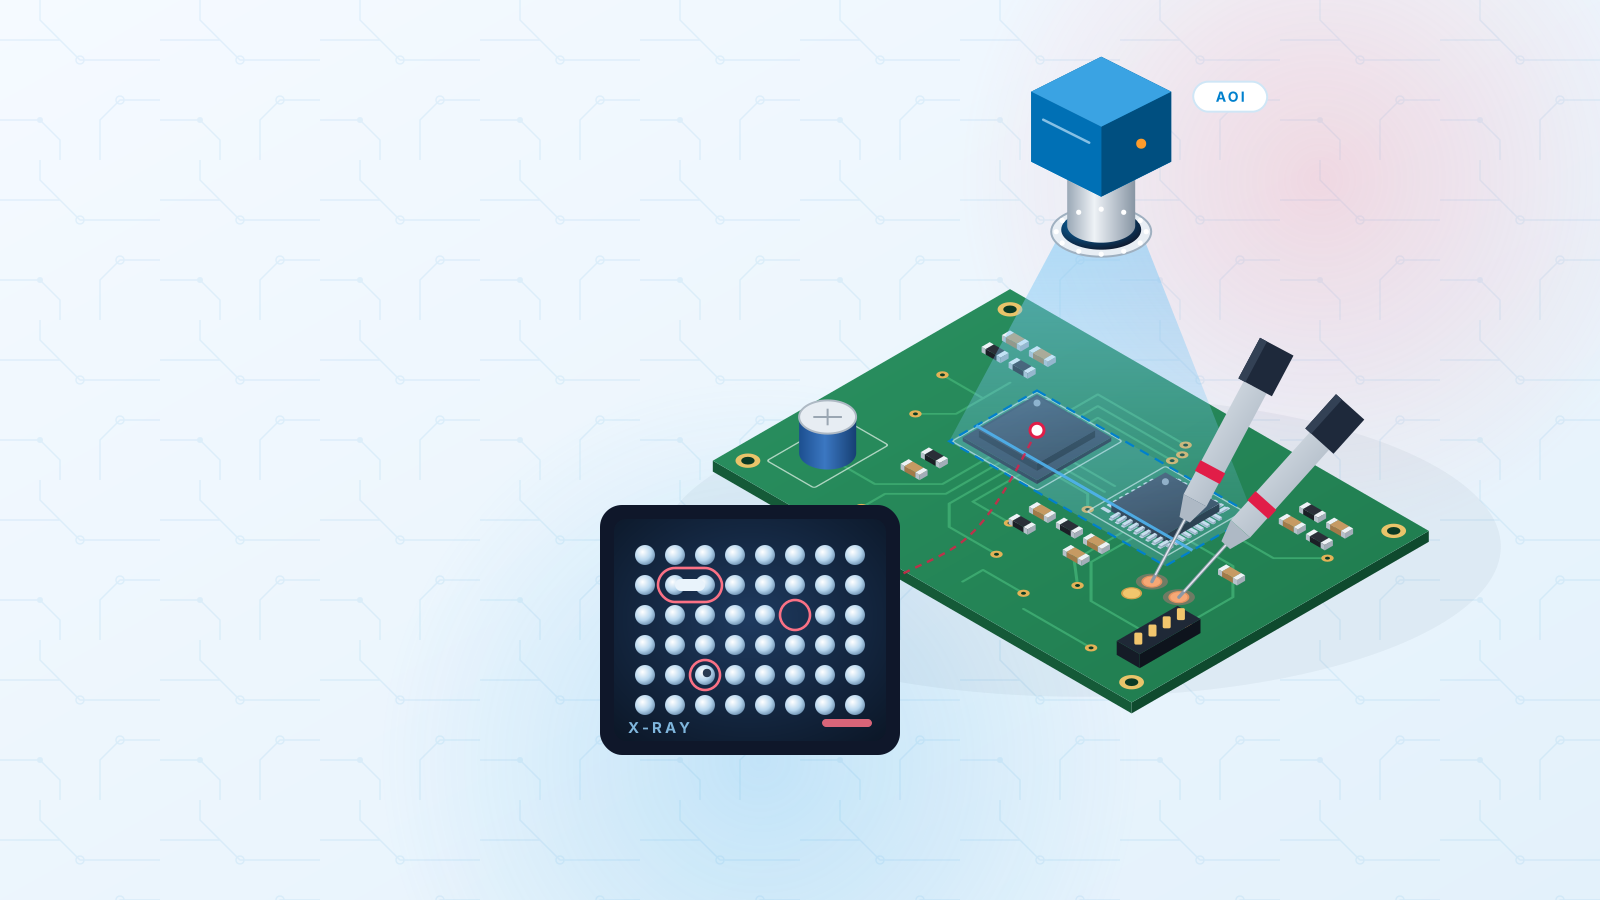
- More inspection, sometimes including cross-section (microsection) checks and extra reports.
- Lower yield: boards that pass Class 2 may be rejected at Class 3, so more panels are built to deliver the same count.
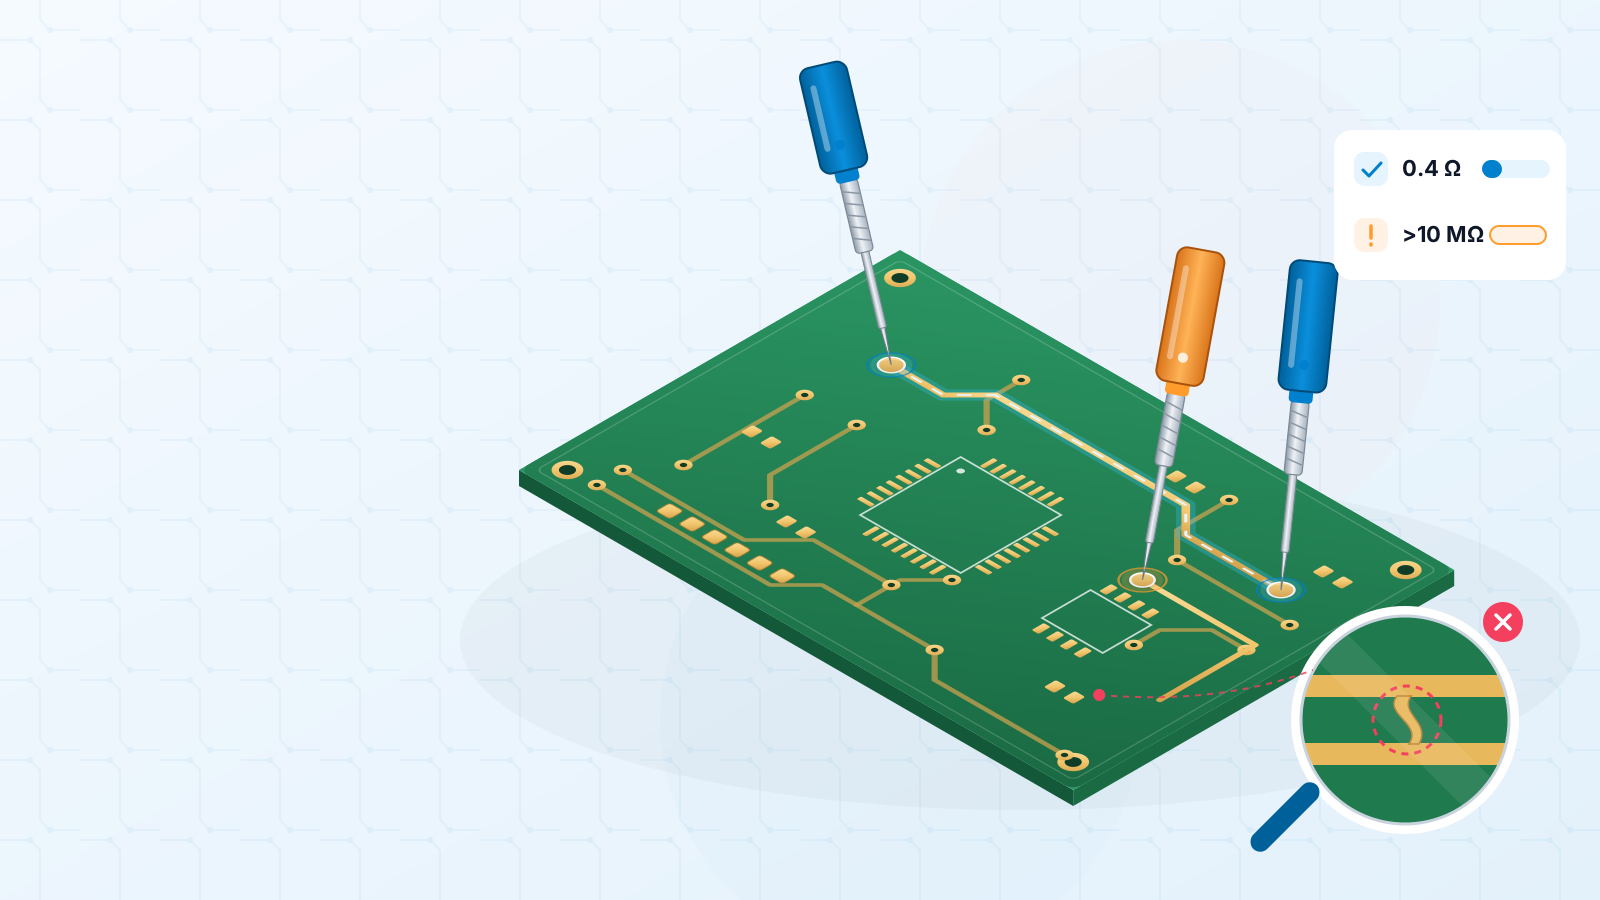
All of this adds cost and can add days, and on a prototype that only proves the circuit works, Class 3 rarely buys much. Separately, every bare board we supply gets a free 100% flying-probe test for opens and shorts — but that electrical test is a different thing from the visual and cross-section criteria above.
How to state the class in your order notes
Ambiguity is the real enemy. “High quality please” cannot be inspected; “IPC-A-600 Class 3” can. When you write your requirement:
- 1Name the document and the class, for example “Bare PCB: IPC-6012 / IPC-A-600 Class 2”.
- 2Add the assembly requirement separately if you also need PCBA, for example “Assembly: IPC-A-610 Class 2, J-STD-001”.
- 3List any extra proof you need — inspection reports, cross-sections or certificates of conformance.
- 4Put it in the fabrication or assembly notes inside the files you upload, so it travels with the design.
Our engineers check your files before production, and the production notes inside them are read and compared with the options we offer. A clear, specific line in those notes is far easier to act on than a vague one.
Choosing the right class for your product
A few honest questions usually settle it:
- Could a failure hurt someone or stop a critical system? If yes, Class 3 is likely required — and your customer will usually say so.
- Will the product run for years in a factory, field or vehicle, but a failure is only an inconvenience? Class 2 is the common choice.
- Is it a prototype, a hobby build or a short-life item? Class 2 (or even Class 1 criteria) is normally enough.
- Does only one board in the product need extra care? Ask for Class 3 on that board only. If unsure, ask your end customer which class their contract requires.
Three common mix-ups
- Class describes the product, not the factory. A supplier’s quality certifications and the class you specify for a board are two separate questions, so ask about both.
- A higher class does not rescue a weak design. Traces that are too thin, poor thermal relief or a missing ground return fail just as easily when inspected to Class 3.
- Bare board and assembly are specified separately. You can set different classes for each, but most buyers keep them aligned so nobody has to guess which rule applies.
Next step: read our plain-English page on certifications and standards to see how IPC classes sit alongside ISO and RoHS, and our quality standards page for how we approach quality. Then upload your Gerber with the class written in your notes and get your price.
#ipc-class#ipc-a-600#ipc-a-610#pcb-quality#inspection
Get an instant PCB quote